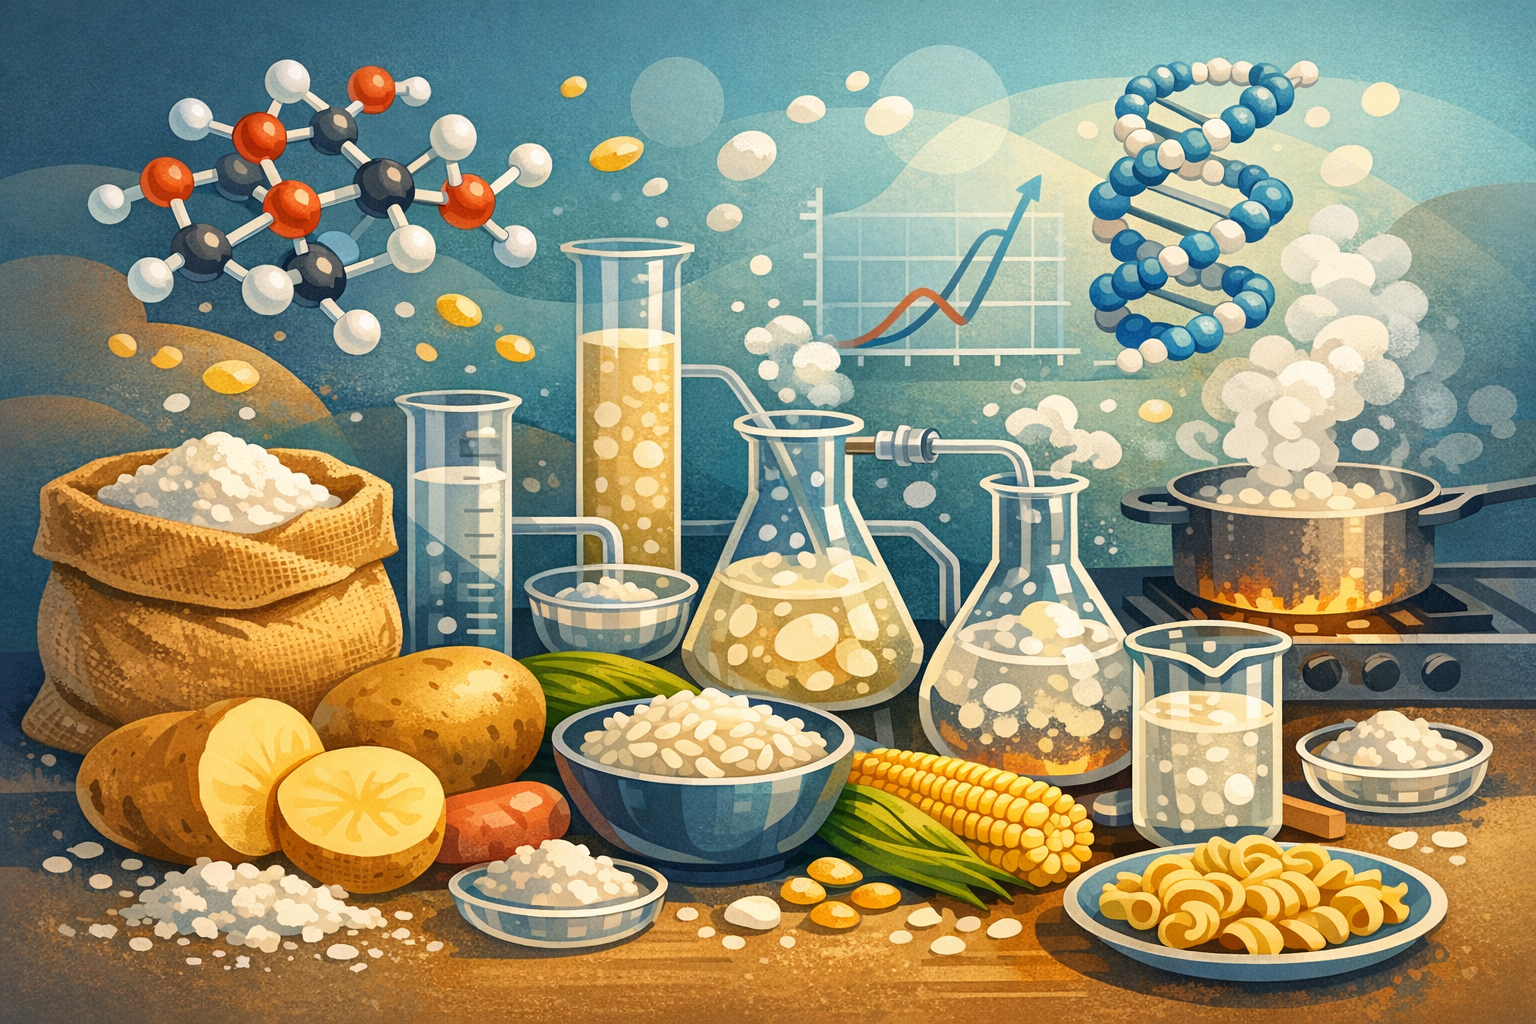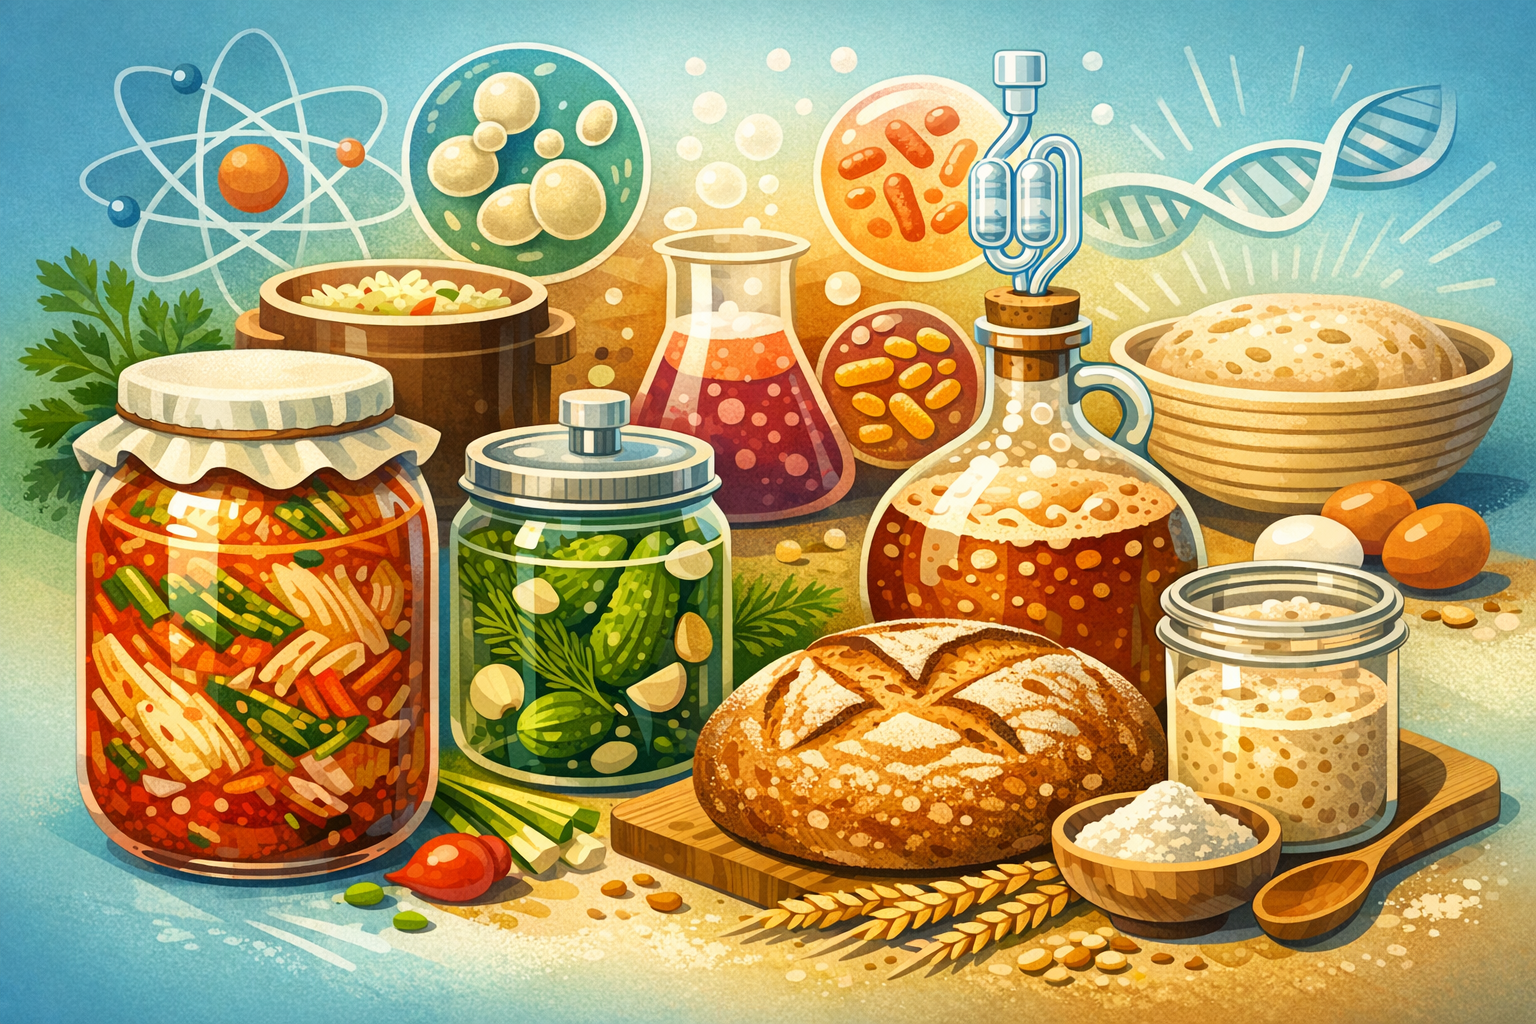
Fermentation is one of the oldest food technologies on Earth. Long before humans understood germ theory, pasteurization, or refrigeration, they discovered that certain controlled spoilage processes could preserve food, enhance its nutrition, and create entirely new flavors. Every major culinary tradition has its fermented staples: Korean kimchi, German sauerkraut, Japanese miso, Ethiopian injera, French wine, and the sourdough bread that sustained Gold Rush miners in 1849.
Today, home fermentation is experiencing a resurgence, driven by interest in gut health, artisanal food, and the simple pleasure of making something transformative with your own hands. But many beginners approach fermentation with unnecessary anxiety, worried about spoilage, contamination, or food safety. The reality is that fermentation, when properly understood, is one of the safest and most forgiving cooking techniques you can practice. The science is firmly on your side.
How Fermentation Works: Three Main Types
The word "fermentation" covers several distinct biological processes, but home cooks primarily work with three: lacto-fermentation, yeast fermentation, and acetic acid fermentation. Each relies on different microorganisms and produces different end products.
Lacto-Fermentation
Lacto-fermentation is the process behind sauerkraut, kimchi, pickles, yogurt, and most other tangy fermented foods. Despite the name, it has nothing to do with lactose or dairy. The "lacto" refers to Lactobacillus, a genus of bacteria that converts sugars into lactic acid.
These bacteria are everywhere. They live on the surface of vegetables, on your hands, in the air, and in soil. When you create the right conditions, specifically a salty, anaerobic (oxygen-free) environment, Lactobacillus and related species outcompete harmful bacteria and take over.
The process unfolds in predictable stages. In the first one to three days, various bacteria begin consuming the sugars naturally present in the vegetables. Some of these are desirable; others are not. During this initial phase, the environment is chaotic, and the ferment may smell a bit funky. By day three or four, the lactic acid bacteria have produced enough acid to lower the pH below 4.6, which is the threshold below which Clostridium botulinum (the botulism bacterium) and most other pathogens cannot survive. From this point on, the ferment is remarkably safe.
As fermentation continues over days and weeks, the lactic acid concentration increases, the flavor becomes more complex, and the texture changes. Vegetables soften as their cell walls break down, and new flavor compounds emerge from the interaction between acids, sugars, and the vegetables' natural chemistry.
Yeast Fermentation
Yeast fermentation is the foundation of bread, beer, wine, and spirits. Yeasts are single-celled fungi that consume sugar and produce two byproducts: carbon dioxide gas and ethanol (alcohol). In bread baking, we want the CO2 (which makes dough rise) and discard the alcohol (which evaporates during baking). In brewing, we want both.
Saccharomyces cerevisiae is the workhorse species, used in commercial bread yeast, ale brewing, and winemaking. But wild yeasts from dozens of species live on fruit skins, grain surfaces, and in the air. These wild yeasts are responsible for the complex, variable flavors of sourdough bread and natural wine.
Sourdough fermentation is actually a partnership between wild yeasts and lactic acid bacteria. The bacteria produce acid (giving sourdough its tang), while the yeasts produce CO2 (providing the rise). This symbiotic culture is what makes a sourdough starter so robust: two types of organisms working together to create an environment that resists contamination.
Acetic Acid Fermentation
Acetic acid fermentation converts alcohol into vinegar. It requires Acetobacter bacteria, which are aerobic (they need oxygen, the opposite of lacto-fermentation). This is why vinegar production uses wide, shallow vessels that maximize air exposure.
To make vinegar at home, you start with an alcoholic liquid (wine, cider, or beer) and introduce Acetobacter, either from a "mother of vinegar" (a gelatinous culture) or from unpasteurized vinegar. Over several weeks, the bacteria consume the alcohol and produce acetic acid. The result is raw, living vinegar with far more complexity than the distilled version from the grocery store.
Getting Started: Essential Equipment and Ingredients
One of fermentation's greatest appeals is its simplicity. You need very little specialized equipment to get started.
For lacto-fermentation, you need: glass jars (wide-mouth mason jars work perfectly), salt (non-iodized; iodine can inhibit fermentation), fresh vegetables, and a weight to keep everything submerged. Commercial fermentation weights are available, but a small ziplock bag filled with brine works just as well.
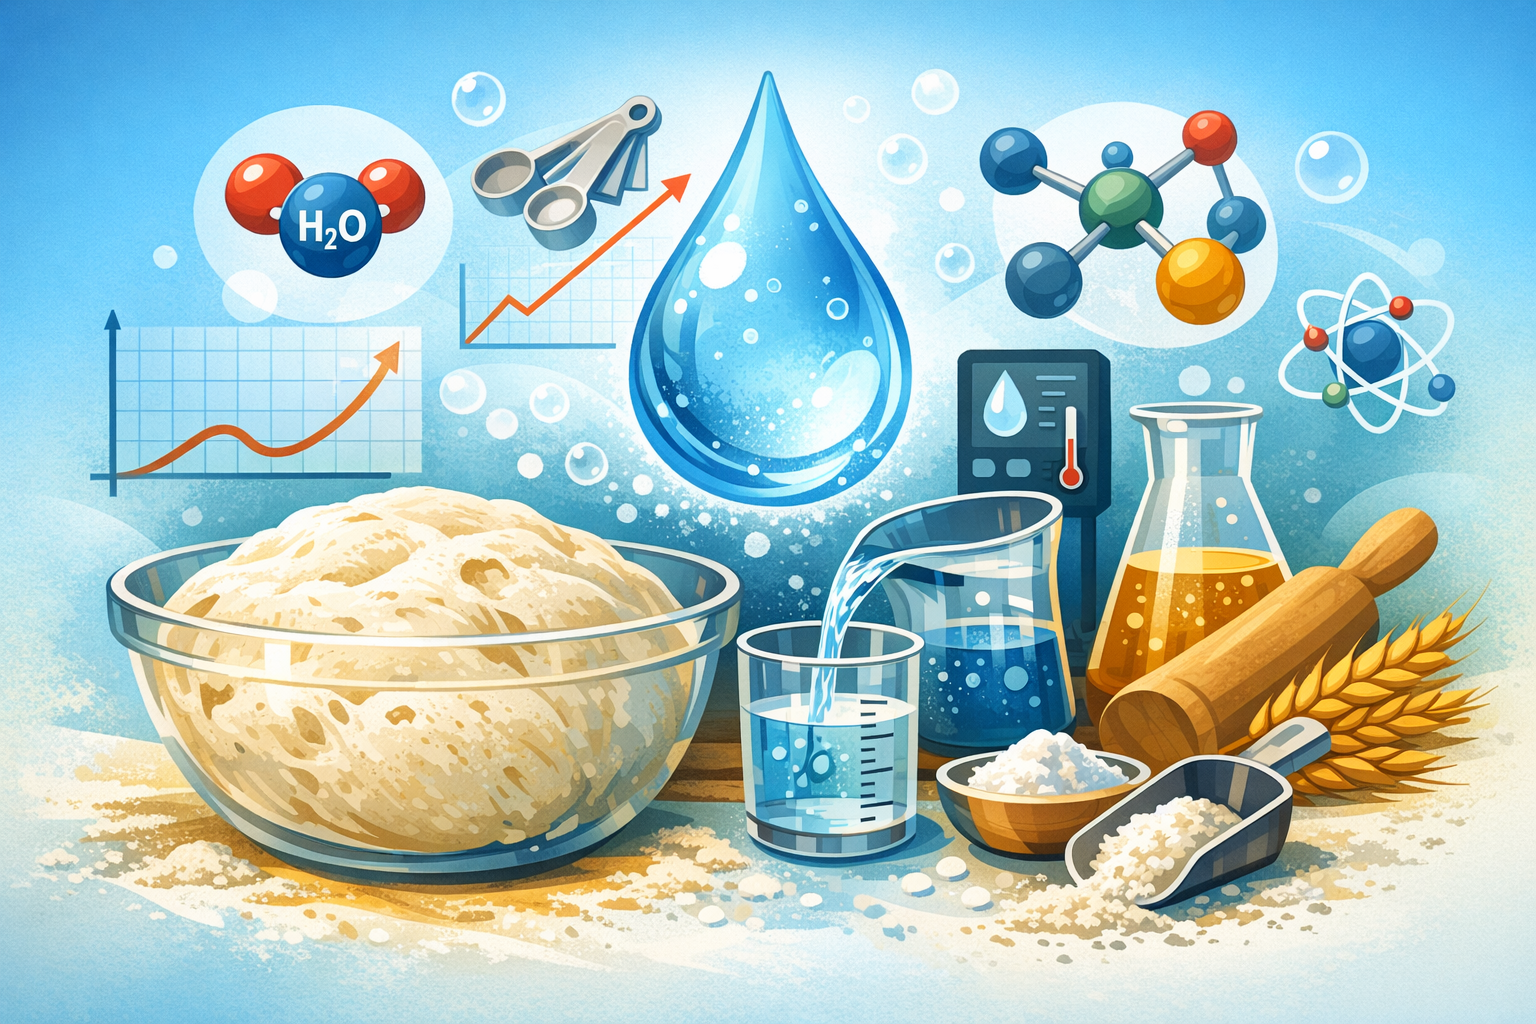
For sourdough, you need: flour (whole grain works best for starting a culture because it carries more wild yeast and bacteria), water (dechlorinated; let tap water sit uncovered for 24 hours or use filtered water), a jar, and patience.
Airlock lids are helpful but not essential. They allow CO2 to escape while preventing oxygen from entering. For your first few ferments, simply covering the jar loosely with a lid or cloth secured by a rubber band is perfectly adequate. Just remember to "burp" sealed jars daily during active fermentation to release gas buildup.
The Critical Role of Salt
Salt is the single most important ingredient in lacto-fermentation. It serves three vital functions.
First, salt creates an environment that favors lactic acid bacteria over competing organisms. Lactobacillus species are salt-tolerant; most spoilage bacteria and molds are not. A salt concentration of 2% to 5% by weight gives the good bacteria a decisive advantage from the start.
Second, salt draws water out of vegetables through osmosis. This extracted liquid becomes the brine that submerges and protects the vegetables. When you massage salt into shredded cabbage for sauerkraut, the cabbage releases enough of its own juice to create a self-generating brine within an hour.
Third, salt slows enzymatic activity that would otherwise turn vegetables mushy. It helps preserve texture, keeping your fermented pickles crisp and your sauerkraut toothsome.
The type of salt matters. Use sea salt, kosher salt, or pickling salt. Avoid iodized table salt (the iodine is antimicrobial and can interfere with fermentation) and salts with anti-caking agents (which can cloud your brine). Fine salt dissolves faster and distributes more evenly; coarse salt is easier to measure by weight.
Your First Ferment: Classic Sauerkraut
Sauerkraut is the ideal starting project. It requires only two ingredients (cabbage and salt), involves minimal technique, and is extremely forgiving.
Begin with one medium head of green cabbage, about two pounds. Remove the outer leaves and set one aside (you'll use it later). Quarter the cabbage, cut out the core, and slice it thinly, about the width of a nickel.
Weigh your sliced cabbage and calculate 2% of that weight in salt. For two pounds (900 grams) of cabbage, that's 18 grams of salt, or roughly one tablespoon of fine sea salt. Precision matters here: too little salt and spoilage organisms can gain a foothold; too much and even the Lactobacillus will struggle.
Place the cabbage in a large bowl, add the salt, and begin massaging. Squeeze and knead the cabbage vigorously for five to ten minutes. You'll notice it begins to wilt and release liquid. After ten minutes, the bowl should contain a significant pool of brine.
Pack the cabbage tightly into a clean mason jar, pressing down firmly after each handful. The goal is to eliminate air pockets and submerge the cabbage completely beneath its own brine. Once packed, place the reserved outer leaf on top as a cap, then weigh it down. A small jar filled with water placed inside the mouth of the fermenting jar works well.
Cover the jar and place it at room temperature (65-75°F is ideal), out of direct sunlight. Check it daily. Within 24 to 48 hours, you should see bubbles forming, a sign that fermentation has begun. Press the cabbage down if any floats above the brine.
Taste it starting on day five. At five to seven days, the sauerkraut will be mild and lightly tangy. At two to three weeks, it will be fully sour with complex flavor. At four to six weeks, it reaches peak depth but may be too intense for some palates. When it tastes right to you, cap it tightly and refrigerate. The cold temperature slows fermentation nearly to a halt, and properly made sauerkraut will keep for six months or longer in the fridge.
Building and Maintaining a Sourdough Starter
A sourdough starter is a living culture of wild yeast and bacteria that you maintain by feeding it flour and water. Building one from scratch takes seven to fourteen days, but once established, a starter can live indefinitely. Some bakeries maintain starters that are over 100 years old.
Day One Through Three
Mix 50 grams of whole wheat flour (or rye flour, which is even more microbe-rich) with 50 grams of room-temperature water in a clean jar. Stir until smooth, cover loosely, and leave at room temperature.
For the first three days, discard about half the mixture each day and add 50 grams each of fresh flour and water. The mixture may smell unpleasant during this period, with notes of stinky cheese or gym socks. This is normal. Leuconostoc bacteria, which are among the first colonizers, produce these off-aromas. They'll be replaced by Lactobacillus as the pH drops.
Day Four Through Seven
By day four, you should start seeing bubbles and a mildly sour, yeasty smell. Continue the daily discard-and-feed cycle, but you can switch to all-purpose flour if you prefer (the wild cultures are now established and don't need the extra microbes from whole grain).
The starter should begin rising and falling predictably between feedings. A healthy starter will roughly double in volume within four to eight hours of feeding, then slowly deflate as the food supply is consumed.
Day Seven Through Fourteen
By the end of the second week, your starter should be rising reliably and smelling pleasantly sour and yeasty. Perform the float test: drop a small spoonful of starter into a glass of water. If it floats, the culture is producing enough CO2 to leaven bread.
Once established, you can maintain your starter on a less demanding schedule. If you bake frequently, keep it at room temperature and feed it daily. If you bake weekly, store it in the refrigerator and feed it once a week. For longer breaks, feed it, let it peak, then refrigerate. It will stay dormant and healthy for two to three weeks without attention.
Troubleshooting Common Fermentation Problems
Kahm Yeast
A thin, white, wrinkly film on the surface of a lacto-ferment is kahm yeast. It's harmless but can contribute off-flavors if left unchecked. Skim it off, make sure your vegetables are fully submerged, and consider adding slightly more salt to your next batch.
Mold
Actual mold (fuzzy, often green, blue, or black) is different from kahm yeast and should be taken seriously. If mold appears only on the surface and the brine below smells clean and sour, you can remove the moldy portion plus a generous margin and continue fermenting. If the mold has penetrated into the brine or the ferment smells foul, discard the batch.
Mold usually indicates insufficient salt, incomplete submersion, or too-warm temperatures. Address these factors in your next attempt.
Mushy Texture
Soft, disintegrating vegetables usually result from too little salt, too high a temperature, or fermentation that went on too long. For crunchier results, use the higher end of the 2-5% salt range, ferment in a cooler location (around 65°F), and taste frequently so you can refrigerate before the texture degrades.
Sourdough Starter Won't Rise
If your starter bubbles but won't double in volume, the yeast population may be underdeveloped. Try feeding with a higher ratio of flour to starter (keeping only 25 grams of starter and adding 75 grams each of flour and water). Using whole rye flour for a few feedings can also help, as rye's higher mineral content and microbial load give the culture a boost.
If there's no activity at all after seven days, your flour may have been irradiated or treated in a way that killed the surface organisms. Try a different brand of flour, ideally organic or stone-ground from a small mill.
Safety: Why Fermentation Is Safer Than You Think
Many beginners worry about botulism, pathogenic bacteria, or other food safety risks. These fears, while understandable, are largely unfounded for properly made fermented foods.
The acidic environment created by lactic acid fermentation (pH below 4.6) is inhospitable to virtually all foodborne pathogens, including Salmonella, E. coli, Listeria, and Clostridium botulinum. A 2012 study by Fred Breidt at the USDA found that pathogenic E. coli O157:H7 died within two to three days when introduced into fermenting vegetables at standard salt concentrations. The bacteria simply cannot survive the acid.
Vegetable fermentation has an extraordinary safety record. Despite being practiced by billions of people for thousands of years, documented cases of illness from properly prepared lacto-fermented vegetables are essentially nonexistent in the scientific literature. The process is, quite literally, self-regulating: if the beneficial bacteria don't produce enough acid, the food tastes wrong and you won't want to eat it.
The key safety principles are simple: use enough salt (2% minimum by weight), keep everything submerged in brine, and trust your senses. If it smells clean and sour, it's safe. If it smells rotten or looks contaminated with mold throughout, discard it. Your nose is an remarkably reliable safety instrument that humans have relied on for far longer than we've had food safety regulations.