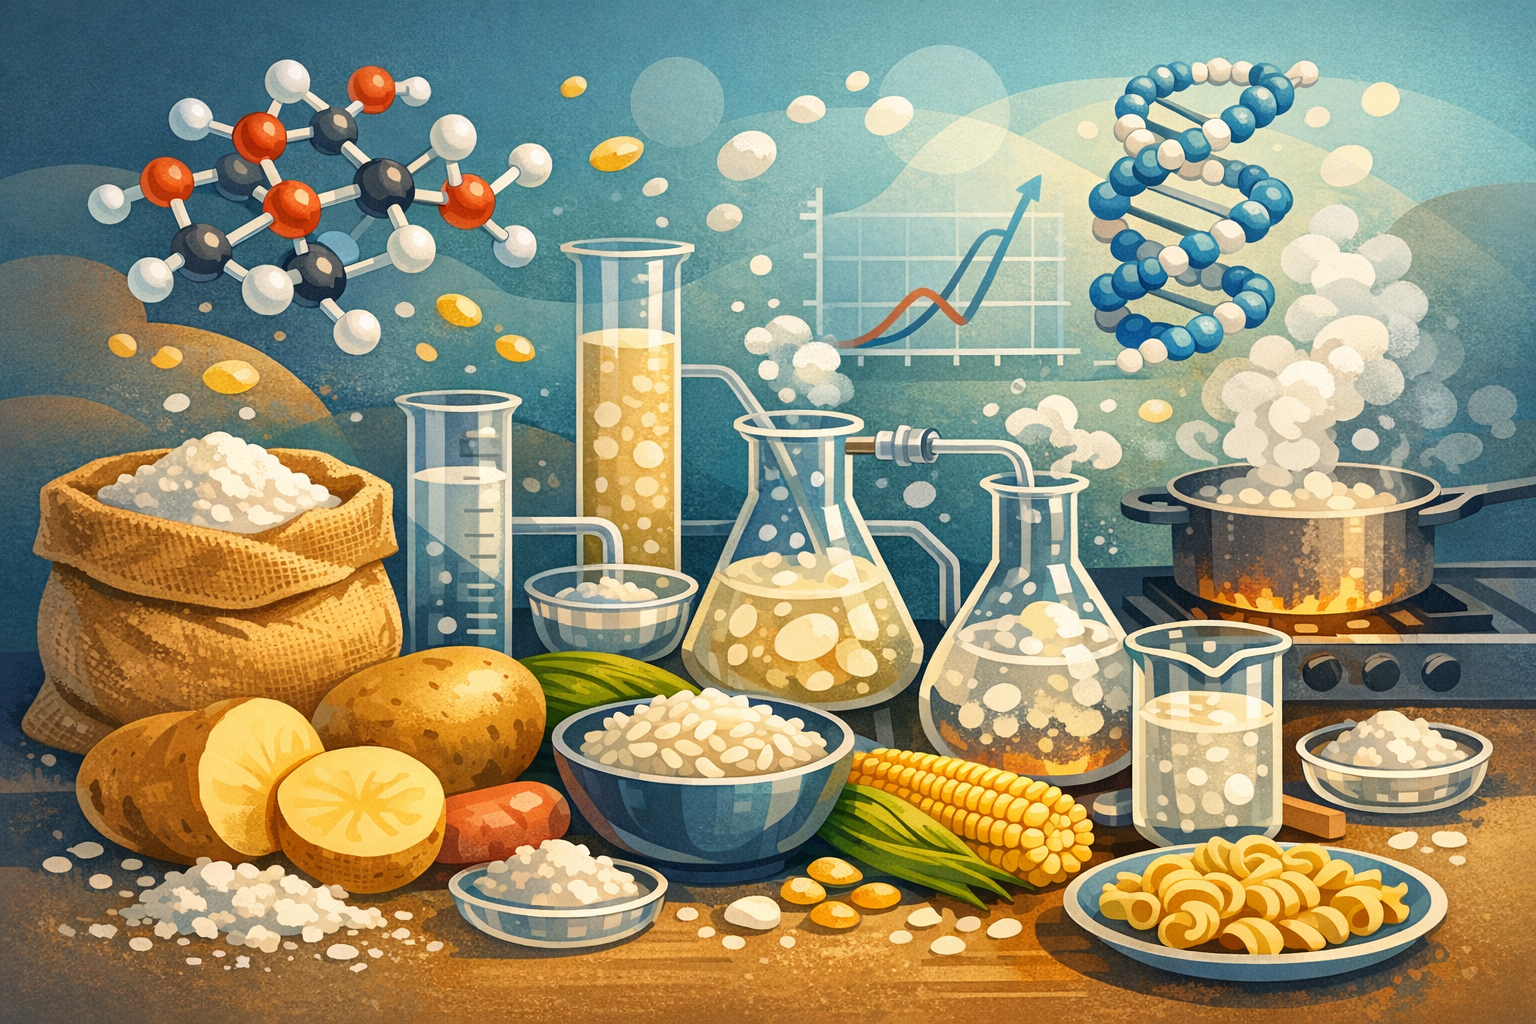
Every great loaf of bread begins with a ratio. Not a recipe, not a technique, not even a specific flour. It starts with the relationship between water and flour, a variable bakers call hydration. Understanding this single concept will transform your baking more than any other piece of knowledge you can acquire.
Hydration determines whether your dough becomes a tight, smooth bagel or an open, airy ciabatta. It controls crumb structure, crust character, fermentation speed, and even flavor development. Once you learn to think in hydration percentages, you stop following recipes blindly and start making intentional decisions about your bread.
Baker's Percentages: The Universal Language of Bread
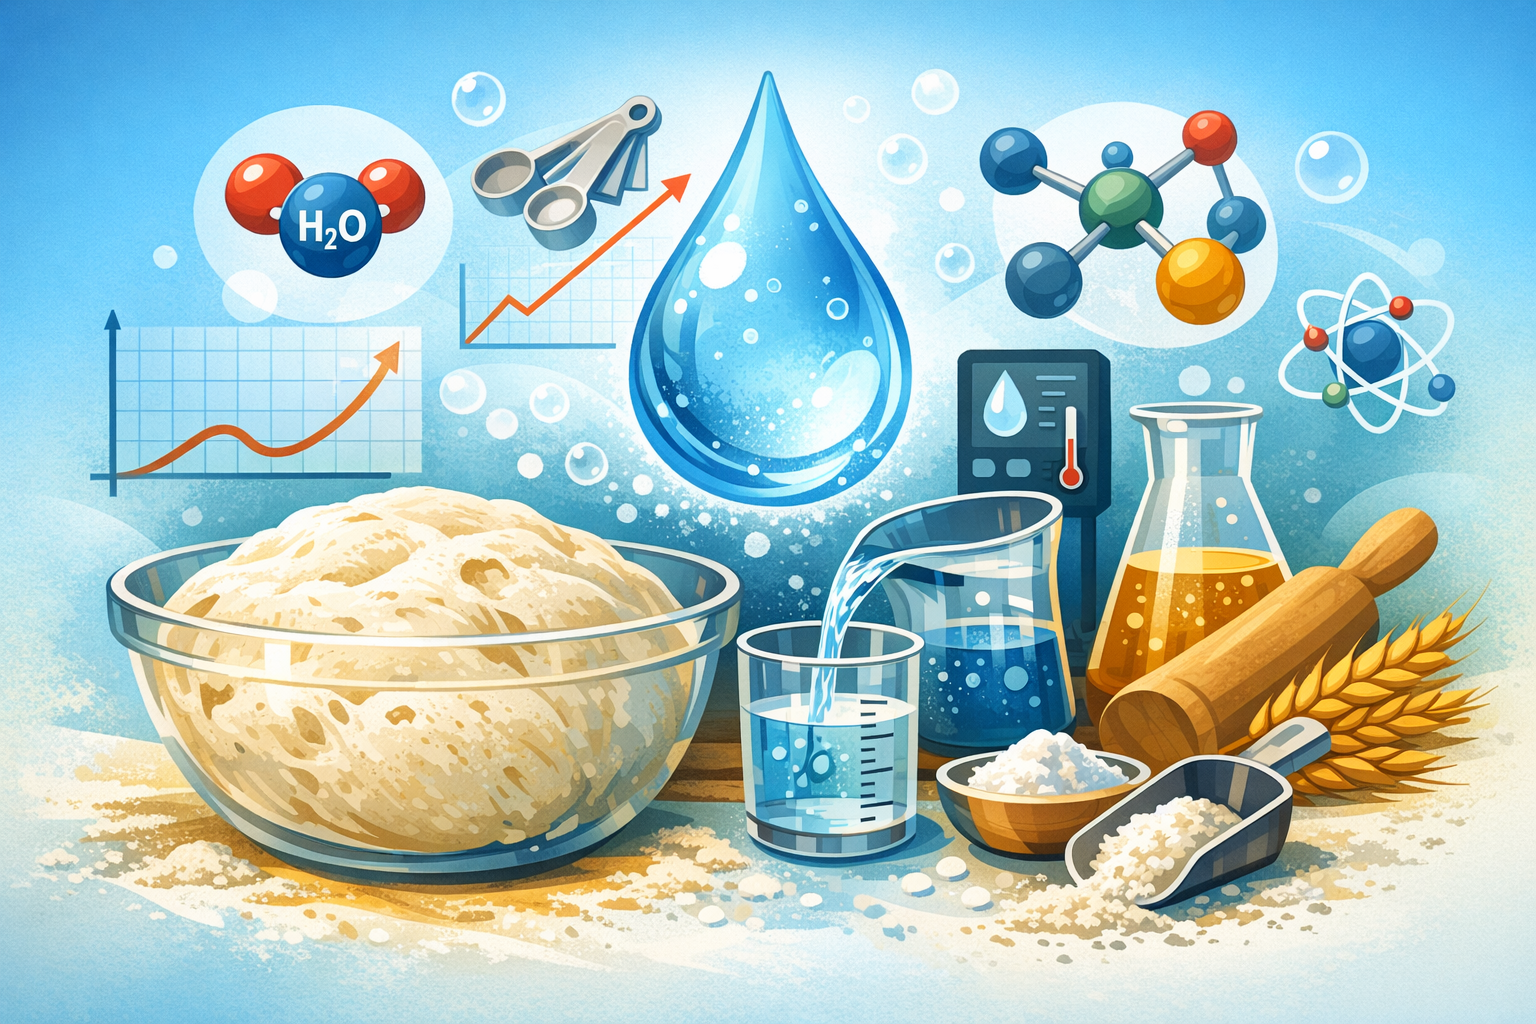
Baker's percentages express every ingredient as a proportion of the total flour weight. Flour is always 100%, and everything else is measured relative to it. If you use 1,000 grams of flour and 700 grams of water, your hydration is 70%. Add 20 grams of salt, and that's 2%. It's elegantly simple.
This system exists because volume measurements are unreliable for baking. A cup of flour can weigh anywhere from 120 to 160 grams depending on how you scoop it. Baker's percentages eliminate that ambiguity entirely. They also make scaling effortless. Want to double a recipe? Double the flour, then calculate everything else from that number.
Why Hydration Is the Master Variable
Among all the baker's percentages, hydration has the most dramatic effect on the finished product. A 5% change in hydration, say from 65% to 70%, creates a noticeably different bread. The dough handles differently, ferments differently, and bakes into a completely different crumb structure.
Low-hydration doughs (55-62%) produce tight, chewy crumbs ideal for bagels and pretzels. Medium hydration (63-70%) gives you the classic bread loaf with an even, moderate crumb. High hydration (71-85%) creates the large, irregular holes prized in artisan breads. Push beyond 85% and you enter the territory of batter breads and pancakes.
The Role of Enrichments
Fats, sugars, and eggs all interact with hydration in important ways. Butter and oil coat gluten strands, weakening the network and producing a softer, more tender crumb. This is why enriched doughs like brioche use lower water hydration (around 50-55%) but compensate with a high percentage of butter (sometimes 60-80% of flour weight). The total liquid content remains high, but the fat changes the dough's behavior entirely.
Sugar is hygroscopic, meaning it attracts and holds water. In a dough with significant sugar content (above 10% of flour weight), less water is available for gluten development because the sugar is hogging it. This is why sweet doughs require more mixing time and why they often feel slack and sticky despite having moderate water percentages.
Hydration Ranges for Classic Breads
Different bread styles have evolved around specific hydration windows, each optimized over centuries of baking tradition.
Baguette: 65-68% Hydration
The French baguette sits in a sweet spot that produces a moderately open crumb with a thin, shattering crust. At 65%, the dough is manageable enough to shape into those long, slender loaves without tearing. Push it to 68% and you get slightly larger holes and a more golden crust, but shaping becomes trickier. Traditional French bakers often work at 66-67%, which balances workability with crumb quality.
The 2023 Coupe du Monde de la Boulangerie (the World Cup of baking) saw winning baguettes in the 66-67% range. Competition bakers obsess over this number because a single percentage point changes the scoring crumb.
Pizza Dough: 60-65% Hydration
Neapolitan pizza dough traditionally runs around 60-62% hydration, producing a dough that stretches without tearing and holds its shape during the intense 900F blast of a pizza oven. New York style pushes slightly higher, to 63-65%, creating a more pliable, foldable crust. Home bakers working with standard ovens maxing out at 550F often benefit from 63% hydration, which gives better oven spring at lower temperatures.
The Associazione Verace Pizza Napoletana, which certifies authentic Neapolitan pizza worldwide, specifies a hydration range of 55.5-62.5% in their official guidelines. That specificity tells you how much these percentages matter to the final product.
Focaccia: 75-80% Hydration
Focaccia's characteristic open, pillowy crumb comes from its high water content. At 75-80%, the dough is too wet to shape traditionally, which is exactly the point. You pour it into an oiled pan, dimple it with your fingers, and let the high hydration do the work. The excess water turns to steam in the oven, creating those beautiful large bubbles throughout the crumb.
Ligurian-style focaccia, from the Genoa region where it originated, often includes a brine solution poured over the top before baking. This effectively pushes surface hydration even higher, creating the distinctively crisp, golden, almost fried crust that distinguishes authentic focaccia from its imitators.
Ciabatta: 80-85% Hydration
Ciabatta, which translates to "slipper" in Italian, pushes hydration to its practical limits. At 80-85%, this dough is more batter than traditional dough. It's nearly impossible to shape by hand in the conventional sense. Instead, bakers pour it onto a floured surface, gently stretch it, and cut it into portions. The reward is an extraordinarily open crumb with thin, crisp walls between massive air pockets.
Interestingly, ciabatta is a modern bread. Arnaldo Cavallari, an Italian baker, developed it in 1982 as Italy's answer to the French baguette. Its high hydration was revolutionary at the time, and it remains one of the most challenging breads for home bakers to master.
Bagels: 50-57% Hydration
At the opposite end of the spectrum, bagels use the lowest hydration of any common bread. This stiff, tight dough produces the dense, chewy crumb that defines a proper bagel. The low water content means less gluten extensibility, so the dough resists expansion during baking, maintaining that compact interior. Combined with the brief boiling step (which gelatinizes the surface starch), low hydration creates a bread that is fundamentally different in texture from anything made with more water.
How Water Transforms Gluten
To understand why hydration matters so much, you need to understand what happens when water meets flour at the molecular level.
Wheat flour contains two proteins, glutenin and gliadin, that individually do very little. Glutenin is a large, coiled protein that provides elasticity. Gliadin is a smaller, sticky protein that provides extensibility. When water hydrates these proteins, they begin to bond together, forming the interconnected network we call gluten.
The Role of Water in Gluten Development
More water means more complete hydration of these proteins, but it also means a more spread-out gluten network. Think of it like a spider web. In a low-hydration dough, the strands are packed tightly together, creating a dense, strong mesh. In a high-hydration dough, those same strands are stretched farther apart, creating larger openings between them. This is precisely why high-hydration breads have bigger holes.
Water also acts as a lubricant between gluten strands. In a dry dough, the proteins grip each other tightly, producing a stiff, resistant mass. In a wet dough, the proteins slide past each other more easily, making the dough extensible and slack. This explains why high-hydration doughs feel so different to handle.
Autolyse: Letting Water Do the Work
The autolyse technique, developed by French baking professor Raymond Calvel in 1974, exploits the relationship between water and flour beautifully. You mix just the flour and water together, then let the mixture rest for 20 to 60 minutes before adding salt and leavening.
During this rest, water penetrates the flour particles and begins hydrating the gluten proteins passively. Enzymes called proteases start gently breaking down the protein, making the dough more extensible. When you finally mix in the salt and yeast, you have a dough that's already partially developed, requiring far less kneading. The result is better flavor, because less mechanical mixing means less oxidation of the carotenoid pigments that contribute to wheaty taste.
Autolyse is especially valuable for high-hydration doughs. Starting with a rest period gives the flour time to absorb all that water before you try to develop the gluten structure. Without it, very wet doughs can feel like an unworkable soup during initial mixing.
Bassinage: Adding Water in Stages
French bakers use a technique called bassinage for very high-hydration doughs. Instead of adding all the water at once, they hold back 10-15% and add it gradually after initial gluten development. The dough is first mixed at a lower, more manageable hydration (say 65%) until the gluten is well developed. Then the reserved water is incorporated in small additions, each fully absorbed before the next.
This technique works because developed gluten can absorb more water than undeveloped flour. The established network stretches to accommodate the extra moisture without losing its structure. Bassinage is the standard method for ciabatta in professional bakeries and the key to handling hydrations above 80% without losing your mind.
The Windowpane Test: Reading Your Gluten
The windowpane test is the most reliable way to assess gluten development. Pinch off a small piece of dough and gently stretch it between your fingers. If you can pull it thin enough to see light through it without it tearing, gluten development is sufficient.
For low-hydration doughs like bagels, the windowpane should be thick and slightly opaque. For baguettes, aim for a thin, translucent membrane. For ciabatta and focaccia, the window should be paper-thin and almost transparent.
What the Windowpane Actually Tells You
When the dough tears immediately, the gluten network hasn't formed enough connections. The proteins need more time, more hydration, or more mechanical development. When the dough stretches into a smooth, even membrane, the gluten strands have aligned into a strong, interconnected sheet capable of trapping gas during fermentation.
A common mistake is over-developing the gluten, especially in a stand mixer. If the dough goes past the windowpane stage, it becomes overly elastic and starts tearing in a different way, snapping back like a rubber band rather than stretching. Over-developed gluten produces bread with a tight, cottony crumb and poor oven spring.
Stretch and Fold: The High-Hydration Alternative
Traditional kneading works poorly for high-hydration doughs. The dough sticks to everything, tears apart under aggressive handling, and generally frustrates anyone trying to work it on a counter. Stretch and fold offers a gentler, more effective alternative.
Every 30 minutes during the first 2 hours of bulk fermentation, you reach into the container, grab one side of the dough, stretch it upward, and fold it over the rest. Rotate 90 degrees and repeat, completing four folds total. Each set takes about 30 seconds. Over the course of 3-4 sets, the dough transforms from a shaggy, loose mass into a smooth, cohesive ball with visible strength.
Stretch and fold develops gluten through gentle elongation rather than compression. It also incorporates air into the dough, building the bubble structure that will later become the crumb. For doughs above 70% hydration, this technique produces better results than any amount of kneading.
Adjusting Hydration for Your Environment
Recipe hydration percentages are guidelines, not laws. Your flour, your climate, and your kitchen all influence how much water your dough actually needs.
Flour Absorption Varies Widely
Protein content is the biggest variable. Bread flour (12-14% protein) absorbs more water than all-purpose flour (10-12% protein). Whole wheat flour absorbs significantly more than either, because the bran particles act like tiny sponges. If a recipe calls for bread flour at 70% hydration and you substitute all-purpose, you may need to reduce hydration to 66-68% to get similar dough behavior.
Freshly milled flour absorbs less water initially than flour that has aged for a few weeks. The oxidation that occurs during aging changes the protein structure, increasing its water-binding capacity. If you mill your own flour, expect to use slightly less water or to extend your autolyse time.
Brand matters too. King Arthur bread flour, at 12.7% protein, behaves very differently from a grocery store house brand at 11.5%. Italian-style 00 flour, despite being finely ground, typically has lower protein (11-12%) and absorbs less water than American bread flour. When switching flours, always adjust hydration by feel rather than trusting the original recipe's number.
Humidity and Temperature Matter
In humid climates, flour sitting in your pantry absorbs moisture from the air. On a rainy day in July, your flour might already contain more moisture than the same flour in a heated kitchen in January. Professional bakers adjust hydration by 1-3% seasonally. Home bakers should hold back 5-10% of their water during mixing and add it gradually until the dough reaches the right consistency.
Water temperature also plays a critical role, though not in hydration per se. Warmer water accelerates fermentation and gluten development. Many professional bakers use a target dough temperature formula, calculating their water temperature based on the flour temperature and room temperature to hit a consistent final dough temperature of 75-78F.
A Practical Approach for Home Bakers
Start with the recipe's stated hydration. Mix the dough and assess its feel. If it seems too stiff and tears easily during stretching, add water in 10-gram increments, mixing thoroughly between additions. If the dough is impossibly slack and won't hold any shape, you've either exceeded your flour's absorption capacity or under-developed the gluten.
Keep a baking journal. Record the flour brand, hydration percentage, room temperature, and results for every bake. After five or six sessions, patterns emerge. You will learn that your preferred brand of bread flour performs best at 68% in summer and 71% in winter, or that your whole wheat blend needs a 45-minute autolyse to avoid a gummy crumb.
Crumb Structure: Where Hydration Becomes Visible
Slice open a finished loaf and you can read its hydration history. The crumb tells the whole story.
Open vs. Tight Crumb
High-hydration doughs produce open crumbs because water serves two functions during baking. First, it creates steam inside the dough, expanding existing gas bubbles. Second, the wetter gluten network is more extensible, allowing those bubbles to grow larger before the structure sets. In a 65% hydration baguette, bubbles expand moderately before the gluten walls resist further stretching. In an 82% ciabatta, those walls stretch dramatically, creating holes you could fit a fingertip through.
The desire for an open crumb has become almost obsessive in the artisan baking community. Instagram is filled with cross-sections of sourdough loaves displaying enormous, irregular holes. While visually striking, an extremely open crumb isn't always desirable. Sandwich bread needs a relatively tight, even crumb to hold condiments. Toast bread needs enough structure to support toppings. Match your hydration to your intended use, not to an aesthetic ideal.
Crust Development
Hydration affects crust in ways many home bakers overlook. Higher-hydration doughs produce thinner, crispier crusts. The extra moisture at the dough surface delays crust formation during the early minutes of baking, allowing more oven spring. When the crust finally forms, it's thinner because the surface dried more slowly. Paradoxically, a wetter dough makes a crispier crust.
Steam in the oven amplifies this effect. Professional bread ovens inject steam during the first 10-15 minutes of baking. Home bakers can approximate this with a Dutch oven, a pan of boiling water, or ice cubes thrown onto a preheated sheet pan. The steam keeps the crust surface moist, allowing the dough to expand fully before the crust hardens.
Putting It All Together
Mastering hydration is not about memorizing numbers. It is about developing an intuitive feel for dough and understanding why it behaves the way it does. Start with a simple lean dough at 65% hydration. Bake it, evaluate it, and take notes. Then make the same recipe at 70%. Compare the handling, the crumb, the crust, the flavor.
Gradually push higher. Try a 75% focaccia. Attempt an 80% ciabatta. Each step teaches you something new about gluten, fermentation, and shaping. You will develop the ability to look at a dough and know, without a recipe, whether it needs more water or more time.
The best bakers in the world do not follow recipes. They read their dough, adjust on the fly, and make decisions based on decades of accumulated experience. Hydration is the foundation of that skill. Learn it well, and every other aspect of bread baking becomes clearer.