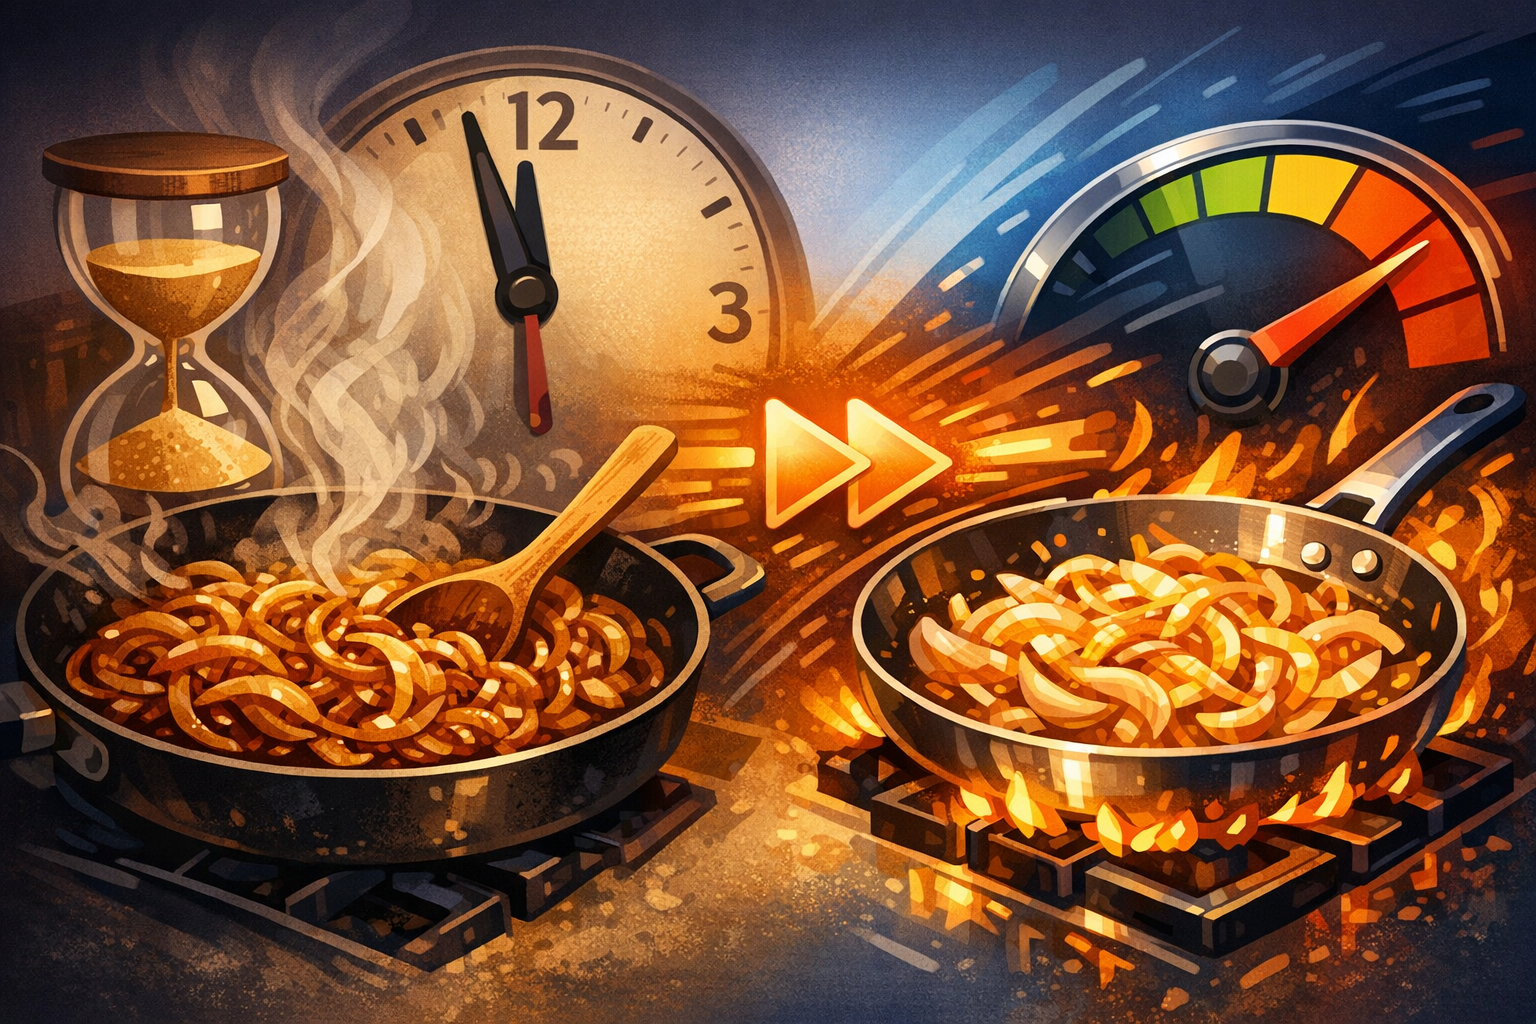
Recipes that promise caramelized onions in ten minutes are lying to you. Not exaggerating, not rounding down, not offering a reasonable shortcut. Lying. True caramelization of onions takes 45 minutes to an hour of patient stovetop work, and understanding why requires a trip through plant cell biology, sugar chemistry, and the physics of heat transfer.
The good news: once you understand what is actually happening inside that pan, you can make informed decisions about when to invest the full hour and when certain legitimate shortcuts deliver 80% of the result in half the time. The key word is "informed." Most shortcut recipes skip the science entirely and just tell you to crank the heat, which produces something entirely different from properly caramelized onions.
This is a deep look at the three-phase process that transforms a raw allium into something almost unrecognizably sweet and complex, the chemistry that drives each phase, and tested techniques that genuinely accelerate the process without sacrificing quality.
The Three Phases of Caramelizing Onions
A raw yellow onion is roughly 89% water by weight. The remaining 11% includes about 4-5% sugars (primarily glucose, fructose, and sucrose), along with sulfur compounds, amino acids, and structural carbohydrates like cellulose and pectin. Every stage of caramelization is governed by what happens to these components as heat is applied.
Phase One: The Long Evaporation (0-25 Minutes)
The first and longest phase is almost entirely about removing water. When sliced onions hit a hot pan, the heat begins breaking down cell walls, releasing the water trapped inside. This water pools at the bottom of the pan and must evaporate before surface temperatures can climb above 212 degrees Fahrenheit. The boiling point of water.
This is the fundamental bottleneck. As long as liquid water is present, evaporative cooling holds the onion surface temperature at or below 212 degrees. The Maillard reaction, which produces the complex savory-sweet flavors of true caramelization, does not begin in earnest until surface temperatures reach roughly 280 to 310 degrees. Caramelization of the sugars themselves requires even higher temperatures, around 320 degrees for fructose and 340 degrees for sucrose.
So for the first 20 to 25 minutes, you are essentially doing nothing but boiling off water. The onions will soften, become translucent, and shrink dramatically in volume, a full large onion reduces to roughly a quarter of its raw volume, but they will not meaningfully brown. This is the phase that tests patience and the phase where most home cooks make their critical mistake: cranking the heat to speed things up.
Higher heat during phase one does evaporate water faster, but it creates a serious problem. The sugars in direct contact with the pan surface can reach browning temperatures even while the bulk of the onion mass is still waterlogged. The result is scattered dark spots and burnt patches surrounded by still-pale, steamy onion. You get bitterness from those burnt spots without the uniformly deep sweetness of proper caramelization.
Medium to medium-low heat during this phase ensures that water evaporates steadily and evenly. Stirring every four to five minutes redistributes the onions so no single layer stays in prolonged contact with the hottest surface. The goal is uniform dehydration, not speed.
Phase Two: The Maillard Cascade (25-40 Minutes)
Once most of the free water has evaporated, surface temperatures finally begin climbing past the 280-degree threshold. This is where the transformation happens, and it happens through two overlapping chemical processes.
The Maillard reaction involves amino acids reacting with reducing sugars, glucose and fructose, at temperatures above 280 degrees. This cascade produces hundreds of distinct flavor compounds: nutty, savory, toasty, and meaty notes that give caramelized onions their extraordinary depth. The reaction also produces brown pigments called melanoidins, which are responsible for the deepening color.
Simultaneous with the Maillard reaction, actual sugar caramelization begins. When fructose molecules reach about 320 degrees, they begin breaking down into a complex family of compounds including diacetyl (which tastes buttery), maltol (which tastes like caramel), and furanones (which contribute a sweet, almost maple-like quality). As temperatures continue rising, sucrose breaks down into glucose and fructose, which then caramelize independently.
The combination of Maillard products and caramelization products is what gives properly caramelized onions their signature flavor profile. Neither process alone can replicate it. This is also why caramelized onions taste fundamentally different from onions that have been merely sauteed at high heat. Quick-cooked onions may develop some Maillard browning on their surfaces, but the bulk of the onion never dehydrates enough for the deeper caramelization reactions to occur throughout.
During this phase, you need to stir more frequently, every two to three minutes, and watch carefully for the fond, the layer of browned sugars and proteins that forms on the pan bottom. This fond is concentrated flavor. Deglazing with a small splash of water (just a tablespoon or two) dissolves it and redistributes it back into the onion mass. You may deglaze three or four times during this phase. Each deglaze cycle builds another layer of complexity.
Phase Three: The Deep Finish (40-60 Minutes)
The final phase is where good caramelized onions become exceptional. By this point, the onion mass has lost roughly 80% of its original water. What remains is a concentrated mixture of sugars, amino acids, and the hundreds of compounds produced during phase two, all continuing to react with each other.
The color deepens from golden to amber to a rich mahogany. New reactions between existing Maillard products create second-generation flavor compounds even more complex than the first. The texture shifts from soft and wet to jammy and sticky as the residual sugars concentrate into an almost syrupy consistency.
You can stop at any point during this phase depending on your intended use. Golden caramelized onions (around 40 minutes) work beautifully on pizza or in a quiche. Medium amber (50 minutes) is ideal for French onion soup, where the onions need to hold up against a strong beef broth. Deep mahogany (55-60 minutes) produces an almost chutney-like intensity perfect for spreading on burgers or mixing into dips.
The critical risk during phase three is burning. With so little moisture remaining, the temperature of the onion mass can spike quickly. Reduce heat to low, stir every minute or two, and deglaze immediately if you see any spots turning black rather than brown. There is a narrow but meaningful difference between the bitter, acrid taste of burnt sugar and the bittersweet complexity of deeply caramelized sugar. Your nose will tell you which side you are on.
Why Most "Quick Caramelized Onion" Recipes Fail
The internet is saturated with recipes claiming caramelized onions in 10, 15, or 20 minutes. Food writer Tom Scocca wrote a now-famous takedown of this phenomenon, calling it "the most egregious lie in food writing." He was not wrong.
The core problem is that these recipes produce browned onions, not caramelized onions. They are different things. Browned onions are cooked at high heat until their surfaces develop Maillard color, but the interior of each onion piece is still relatively wet and has not undergone the full caramelization cascade. The flavor is pleasant but one-dimensional. You get the toasty surface notes without the deep, jammy sweetness that defines true caramelization.
Some fast recipes add sugar to compensate, which creates a different problem entirely. Added sugar caramelizes on the pan surface, producing browning and sweetness, but the onion's own sugars never concentrate through dehydration. The result tastes like sweet onions rather than caramelized onions. The nuance that comes from the Maillard reaction between the onion's endogenous amino acids and its own sugars is largely missing.
The most common tricks used in quick recipes and what they actually do:
Cranking to high heat gets you Maillard browning on the onion surfaces faster, but the interior stays wet. You end up with a mix of charred edges and steamed centers. Adding water to deglaze just reintroduces moisture that then needs to evaporate again, partially resetting phase one.
Adding baking soda is the one shortcut with genuine scientific merit, and we will cover it in detail below. It accelerates the Maillard reaction and breaks down cell walls faster, releasing water more quickly. But it also changes the texture significantly.
Using a wider pan legitimately helps by spreading onions thinner, allowing water to evaporate faster. This is not a trick. It is good technique. But it shaves off 10 to 15 minutes at most, not 35.
Starting with the lid on traps steam, which softens the onions faster but actually slows dehydration. Some recipes use this to accelerate phase one softening, then remove the lid for phases two and three. The time savings are modest, perhaps five minutes, but the technique is sound.
Shortcuts That Actually Work (And Their Trade-Offs)
Not every situation calls for a full 60-minute commitment. Here are approaches that genuinely reduce the time while preserving most of the flavor development, ranked by effectiveness.
The Baking Soda Method (Saves 15-20 Minutes)
Adding a quarter teaspoon of baking soda per pound of sliced onions raises the pH of the mixture, which has two significant effects. First, alkaline conditions accelerate the Maillard reaction, allowing browning to begin at lower temperatures and proceed faster at any given temperature. Second, baking soda breaks down pectin, the structural carbohydrate that holds plant cell walls together, causing cells to rupture faster and release their water earlier.
The practical result is that phase one (dehydration) is shortened because cell walls collapse more readily, and phase two (Maillard browning) proceeds faster once it begins. Harold McGee, one of the foremost authorities on kitchen chemistry, has verified that the baking soda method can reduce total caramelization time to roughly 35 to 40 minutes.
The trade-off is texture. Baking soda-treated onions lose their structural integrity faster and can become mushy if overcooked. For applications where you want distinct onion strands, like topping a tart or a steak, this matters. For French onion soup, a dip, or a spread where the onions will be semi-pureed anyway, the texture change is irrelevant.
Dosage matters. More baking soda does not mean faster caramelization. Exceeding a quarter teaspoon per pound introduces a noticeable soapy, metallic off-flavor. Stay conservative.
The Pressure Cooker Approach (Saves 25-35 Minutes)
A pressure cooker raises the boiling point of water to around 250 degrees Fahrenheit at 15 PSI. This means the onions can reach higher temperatures during phase one, softening and releasing water faster, and some early Maillard reactions can begin even in the presence of moisture.
The technique: cook sliced onions with a tablespoon of butter or oil and a quarter cup of water in a pressure cooker at high pressure for 15 to 20 minutes. The result is deeply softened, semi-translucent onions that have already begun developing some Maillard browning. Transfer them to a wide skillet and finish over medium heat for 10 to 15 minutes, stirring frequently, to evaporate remaining moisture and complete the caramelization.
Total time: 25 to 35 minutes, depending on the final darkness you want. Food scientist and author J. Kenji Lopez-Alt tested this method extensively and found it produced results very close to traditional stovetop caramelization, with slightly less complexity in the deepest flavor notes but more than enough for most applications.
The trade-off: you need a pressure cooker, and the onions emerge very soft with less textural definition than stovetop-only versions. Also, because the Maillard reactions during the pressure phase happen in a sealed environment, some volatile aromatic compounds get trapped and reabsorbed rather than escaping (as they do on an open stovetop), which subtly alters the flavor balance.
The Oven Method (Saves Effort, Not Time)
Spreading sliced onions on a sheet pan with oil and roasting at 400 degrees does not save clock time. It still takes 45 to 60 minutes. But it saves active effort because you only need to stir every 15 minutes instead of every few minutes. The oven's dry, radiant heat environment is efficient at driving off moisture, and the large surface area of a sheet pan means each onion piece has more exposure.
This method works well when you are already using the oven for something else, or when you are making a large batch (two or more pounds). The results are excellent, with good color development and flavor complexity, though slightly less fond buildup compared to stovetop since the sugars brown in place rather than forming a concentrated layer on a pan bottom.
The Equipment That Matters
Pan choice significantly affects caramelization speed and quality.
Heavy-bottomed stainless steel or enameled cast iron (like a Le Creuset Dutch oven) are the best choices. Their thermal mass maintains steady temperature even when moisture is released from the onions, preventing the dramatic temperature drops that stall browning. The light-colored interior lets you accurately judge the color of both the onions and the fond.
Cast iron works well for smaller batches. It has excellent thermal mass and develops fond beautifully. However, the dark surface makes it harder to judge color accurately, increasing the risk of unknowingly pushing past deep brown into burnt territory.
Nonstick pans are the worst choice for caramelized onions. The coating prevents fond from forming. Those browned sugars and proteins slide around instead of adhering to the pan surface. Without fond to deglaze and reincorporate, you lose a major source of flavor development. If nonstick is all you have, the results will be acceptable but noticeably less complex.
Pan size also matters more than most recipes acknowledge. For one pound of sliced onions (roughly two large onions), a 12-inch skillet or 5-quart Dutch oven is ideal. The onions should fill the pan about two-thirds full at the start. They will reduce dramatically. A pan that is too wide spreads onions too thin, causing them to dry out and scorch before the Maillard reactions can develop evenly. A pan that is too small or too full traps moisture and extends phase one.
Choosing the Right Onion
Not all onions caramelize equally. The differences come down to sugar content and water content.
Yellow onions are the standard choice and for good reason. They contain 4 to 5 percent sugar by weight and have a balanced sulfur compound profile that mellows beautifully with extended cooking. Their moderate water content strikes the right balance. Enough to prevent burning during the early phases, not so much that dehydration takes forever.
Sweet onions (Vidalia, Walla Walla, Maui) have higher sugar content, around 6 to 7 percent, but they also contain significantly more water. Counterintuitively, this means they can take longer to caramelize because phase one (dehydration) is extended. The final result is sweeter but often less complex because the lower sulfur content means fewer amino acids available for Maillard reactions.
Red onions caramelize well and add a subtle wine-like tang, but their anthocyanin pigments (the compounds responsible for the purple color) can turn a muddy gray-brown during prolonged cooking. This does not affect flavor, but the visual result is less appealing. A splash of vinegar or red wine during cooking helps preserve some of the red-purple hue.
White onions have higher sulfur content and lower sugar levels. They develop sharper, more pungent caramelization flavors. Interesting for certain Mexican and Southwestern applications, but not the sweet, jammy result most people are after.
For the best all-purpose caramelized onions with the deepest flavor development, standard yellow onions remain the optimal choice.
Storage and Batch Strategy
Properly caramelized onions keep remarkably well. Refrigerated in an airtight container, they last seven to ten days without significant flavor degradation. Frozen in ice cube trays or muffin tins, then transferred to freezer bags, they keep for three months or more with minimal quality loss.
Given the time investment, making large batches makes practical sense. Three to four pounds of raw onions (six to eight large onions) reduce to roughly one and a half cups of caramelized onions. Enough to freeze in portions for weeks of use. Scale up the pan size accordingly (a large Dutch oven or roasting pan) and add 10 to 15 minutes to account for the additional moisture.
Caramelized onions are one of the most versatile flavor building blocks in cooking. They elevate pizza, sandwiches, pasta, soups, dips, savory tarts, grain bowls, and grilled meats. A frozen cube of caramelized onions stirred into a weeknight risotto or melted over a burger transforms a simple meal into something with genuine depth. The time investment pays dividends across many meals.
The Honest Truth About Timing
There is no way around the fundamental chemistry. Water must evaporate before sugars can caramelize, and water evaporation takes time. The shortcuts listed above are real and tested, but they compress the process rather than eliminate it. A pressure cooker followed by a skillet finish still takes 30 minutes of actual cooking time. Baking soda shaves 15 minutes, not 35.
The honest timeline for stovetop caramelized onions, from raw to deeply caramelized, using medium-low heat in a proper pan: 45 to 60 minutes. Any recipe claiming dramatically less is either using a shortcut it should disclose, defining "caramelized" more loosely than the chemistry warrants, or simply not telling you the truth.
But here is the thing. Most of that time is passive. Phase one requires a stir every five minutes while you prep other ingredients, answer emails, or pour yourself a glass of wine. The active attention comes in the final 15 to 20 minutes, when browning accelerates and the risk of burning increases. Knowing the science gives you permission to relax during the early stages and focus your attention when it actually matters.
The onions will tell you when they are ready. Trust the process, trust the chemistry, and give them the time they need.