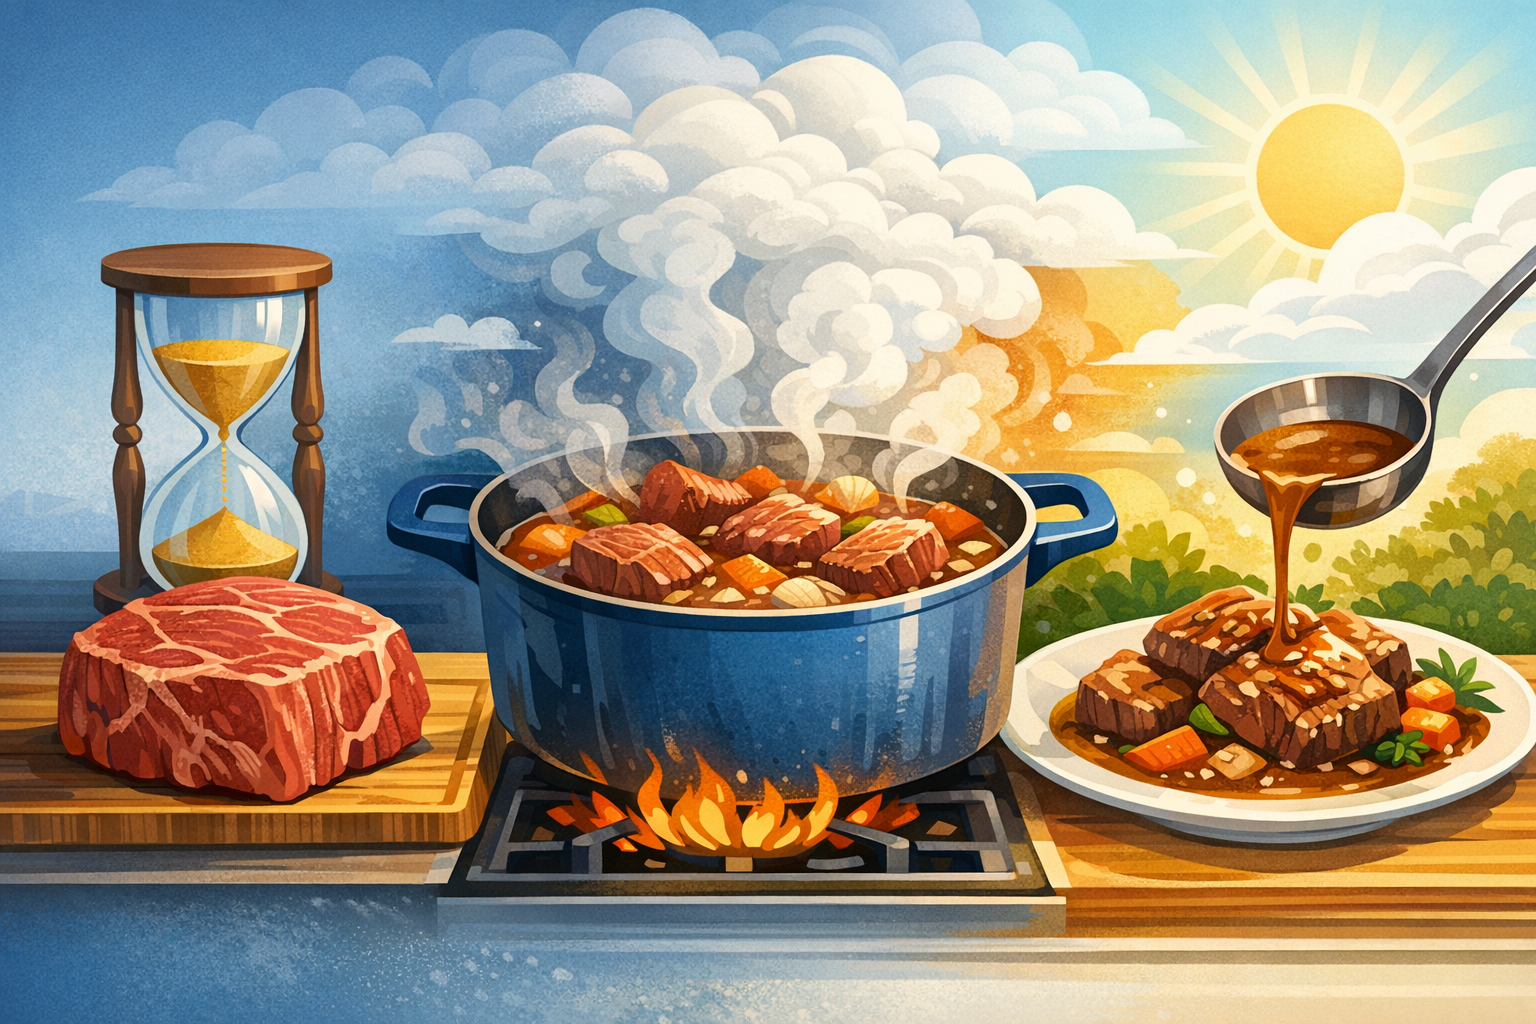
There is a quiet alchemy that happens inside a covered pot over low heat. A chunk of beef chuck, practically inedible when cooked quickly, enters tough and chewy. Three hours later, it emerges so tender that it falls apart under the gentle pressure of a fork. The transformation is so complete that it seems almost impossible. The same piece of meat, the same heat, the same oven. Only time and moisture separate failure from perfection.
Braising is one of the oldest and most reliable cooking methods in existence. Nearly every culinary tradition has a version of it: French coq au vin, Italian osso buco, Mexican barbacoa, Korean galbi-jjim, Moroccan tagine. These dishes span continents and centuries, yet they all exploit the same set of physical and chemical reactions. Understanding those reactions gives you the ability to braise any protein, in any flavor profile, with consistent results.
Why Tough Cuts Are Tough
The toughness of meat comes from connective tissue, primarily a protein called collagen. Collagen is the structural protein that holds muscle fibers together, connects muscles to bones (tendons), and wraps individual muscle bundles in sheets of fascia. It's the body's scaffolding material, strong, rigid, and in its raw form, extremely chewy.
Muscles that work hard contain more collagen. The shoulder (chuck), legs (shank), and chest (brisket) of cattle bear weight, propel movement, and stabilize the animal throughout its life. These cuts are dense with collagen. The tenderloin, by contrast, is a deep muscle that does almost no work. It contains minimal collagen, which is why it's naturally tender but also why it lacks the rich, meaty flavor of harder-working muscles.
Here's the critical insight: collagen isn't just a problem to overcome. It's actually the source of braising's greatest reward. When collagen breaks down, it converts into gelatin, and gelatin is what gives braised dishes their luxurious, silky, lip-coating richness. A perfectly braised short rib doesn't just taste good; it has a texture that no tender cut can replicate. That texture is dissolved collagen.
The Science of Collagen Conversion
Collagen molecules are structured as triple helices, three protein chains wound around each other like a rope. This structure is incredibly strong in its native state. But when collagen is heated in the presence of moisture, the triple helix begins to unwind. The protein chains separate, lose their rigid structure, and dissolve into the surrounding liquid as gelatin.
This conversion happens at temperatures above approximately 160°F (71°C), but it's not instantaneous. At 160°F, the process is extremely slow. At 180-200°F (82-93°C), it proceeds at a practical rate. This temperature range is the sweet spot for braising: hot enough to convert collagen efficiently, cool enough to avoid driving out all the moisture from the muscle fibers.
The time required depends on the amount and type of collagen in the cut. Beef chuck, with its dense collagen network, typically needs 2.5 to 3.5 hours at braising temperature. Pork shoulder requires a similar timeframe. Lamb shanks, with their thick tendons, may need 3 to 4 hours. Chicken thighs, with relatively little collagen, reach tenderness in 45 minutes to an hour.
There is no shortcut that preserves quality. Raising the temperature above 200°F speeds up collagen conversion but also accelerates moisture loss from the muscle fibers. The result is meat that's technically tender (the collagen has dissolved) but dry and stringy (the muscle proteins have contracted and squeezed out their water). The goal of braising is to dissolve the collagen before the muscle fibers dry out. Low temperature and adequate time achieve this balance.
What Happens Inside the Pot
During braising, three things happen simultaneously.
First, the liquid surrounding the meat heats it gently and evenly. Because water conducts heat more efficiently than air, the submerged portions of the meat reach and maintain the target temperature without the extreme surface heat that roasting or grilling creates. This gentle, uniform heating is why braised meat is tender throughout, not just on the surface.
Second, the collagen gradually converts to gelatin and dissolves into the braising liquid. This enriches the liquid, thickening it naturally and adding body. By the time the braise is finished, the cooking liquid has become a concentrated sauce, rich with dissolved proteins, rendered fat, and flavor compounds extracted from the meat, aromatics, and any wine or stock in the pot.
Third, the muscle fibers slowly contract and release moisture. This is unavoidable; all proteins contract when heated. But in a braise, the released moisture stays in the pot rather than evaporating away. And the dissolved gelatin in the liquid reabsorbs into the meat fibers as they relax during cooling or resting, which is why braised meat often tastes even better the next day.
The Braising Method: Step by Step
Step One: Sear the Meat
Browning is not technically part of braising, but it's an essential preliminary step. Searing the meat in a hot pan triggers the Maillard reaction across the surface, creating hundreds of new flavor compounds that will infuse the entire dish during the long cooking time.
Pat the meat thoroughly dry (moisture on the surface creates steam, which prevents browning). Season generously with salt. Heat oil in a Dutch oven or heavy pot over medium-high heat until it shimmers. Sear the meat in batches, leaving space between pieces so they brown rather than steam. Develop a deep, dark crust on all sides. This takes 8 to 12 minutes total per batch.
Don't rush this step. The browning you develop here is the flavor foundation for the entire dish. Those brown bits stuck to the bottom of the pot (the fond) will dissolve into the braising liquid and provide depth that hours of simmering alone cannot replicate.
Step Two: Build the Aromatics
Remove the seared meat. In the same pot, cook your aromatic vegetables: onions, carrots, celery, garlic, or whatever your recipe calls for. The residual fat and fond in the pot flavor the vegetables while they soften. Cook until the onions are translucent and beginning to color, about 5 to 7 minutes.
If using tomato paste, add it now and cook for another minute or two. The direct heat caramelizes the sugars in the paste, deepening its flavor from sharp and acidic to sweet and complex.
Step Three: Deglaze
Add your liquid, whether it's wine, stock, beer, or a combination. As the liquid hits the hot pan, it dissolves the fond, releasing all those concentrated flavor compounds into the sauce. Scrape the bottom of the pot with a wooden spoon to loosen any stubborn bits.
Bring the liquid to a simmer before returning the meat to the pot.
Step Four: Braise
The liquid should come roughly halfway up the sides of the meat, not covering it completely. This partial submersion is important: the portion above the liquid line cooks by steam, which allows the surface to develop a slightly different texture and concentrate flavor. Fully submerging the meat dilutes the braising liquid and results in a weaker sauce.
Cover the pot with a tight-fitting lid and transfer to a 300-325°F oven. The oven provides more even, consistent heat than a stovetop burner, which creates a hot spot directly below the pot. The covered pot traps moisture, creating a self-basting environment where steam condenses on the lid and drips back down onto the exposed surface of the meat.
Check every hour. The liquid should be barely simmering, with small bubbles lazily breaking the surface. If it's boiling vigorously, lower the oven temperature by 25 degrees. A gentle simmer converts collagen efficiently without punishing the muscle fibers.
Step Five: Rest and Finish
The meat is done when a fork slides in with almost no resistance. Remove it from the liquid and let it rest. Strain the braising liquid, pressing the solids to extract all their flavor. Skim the fat from the surface (a fat separator makes this easy, or refrigerate the liquid overnight and lift off the solidified fat cap in the morning).
Reduce the strained liquid over medium-high heat until it reaches your desired consistency. As it reduces, the dissolved gelatin concentrates, naturally thickening the sauce without any flour or starch. A properly reduced braising liquid should coat the back of a spoon and have a rich, glossy appearance.
Slice or shred the meat, return it to the sauce, and serve.
Choosing the Right Cut
Not all tough cuts are created equal. The best braising cuts combine abundant collagen with enough intramuscular fat (marbling) to keep the meat moist during the long cooking process.
Beef chuck roast is the workhorse of braising. It's well-marbled, rich in collagen, and develops deep beefy flavor. It's also one of the most affordable cuts at the butcher counter.
Beef short ribs are the luxury option. The bones contribute additional gelatin and flavor, and the meat is exceptionally well-marbled. Bone-in short ribs braise beautifully in 3 to 3.5 hours.
Pork shoulder (also sold as pork butt or Boston butt) is perhaps the most forgiving cut to braise. Its high fat content and collagen-rich structure make it nearly impossible to overcook. This is the cut used for pulled pork, carnitas, and countless stews.
Lamb shanks are braising showpieces. The dense tendon running through the center dissolves into pure gelatin, and the narrow bones release marrow into the sauce. They require patience (3 to 4 hours) but reward it generously.
Chicken thighs are the quick-braising option. Dark meat contains enough collagen and fat to benefit from braising, and they reach tenderness in under an hour. Use bone-in, skin-on thighs for the best results; sear the skin side first for a crispy top.
Common Braising Mistakes
Boiling Instead of Simmering
This is the most damaging mistake. A vigorous boil pushes the internal temperature of the meat well above 200°F, causing the muscle fibers to contract violently and expel their moisture. The result is meat that's technically "done" (the collagen has converted) but paradoxically tough and dry because the muscle itself has been wrung out like a sponge. Always maintain a gentle simmer: occasional bubbles, not a rolling boil.
Too Much Liquid
More liquid doesn't mean more flavor. It means a diluted sauce that takes forever to reduce. The liquid should come halfway up the meat, no more. The exposed top cooks by steam and develops a slightly caramelized surface that adds complexity.
Not Searing Properly
Skipping the sear or rushing it with wet, crowded meat produces a braise that tastes one-dimensional. The Maillard reaction during searing creates flavor compounds that the braising liquid alone cannot produce. This step is worth the extra 15 minutes and the splattered stovetop.
Checking Too Often
Every time you lift the lid, you release trapped steam and heat. The pot temperature drops significantly and takes time to recover. Check once per hour at most. If your oven temperature is correct and the pot is sealed well, the braise will take care of itself.
Serving Immediately
Braised dishes improve dramatically with an overnight rest. As the meat cools in the liquid, it reabsorbs moisture and gelatin, becoming even more tender and flavorful. The sauce develops a rounder, more integrated taste as the flavors meld. Make your braise on Saturday, refrigerate it, and reheat it for Sunday dinner. The difference is remarkable.